


What are the advantages of BOPP film
Third, BOPP film offers great versatility and safe...
More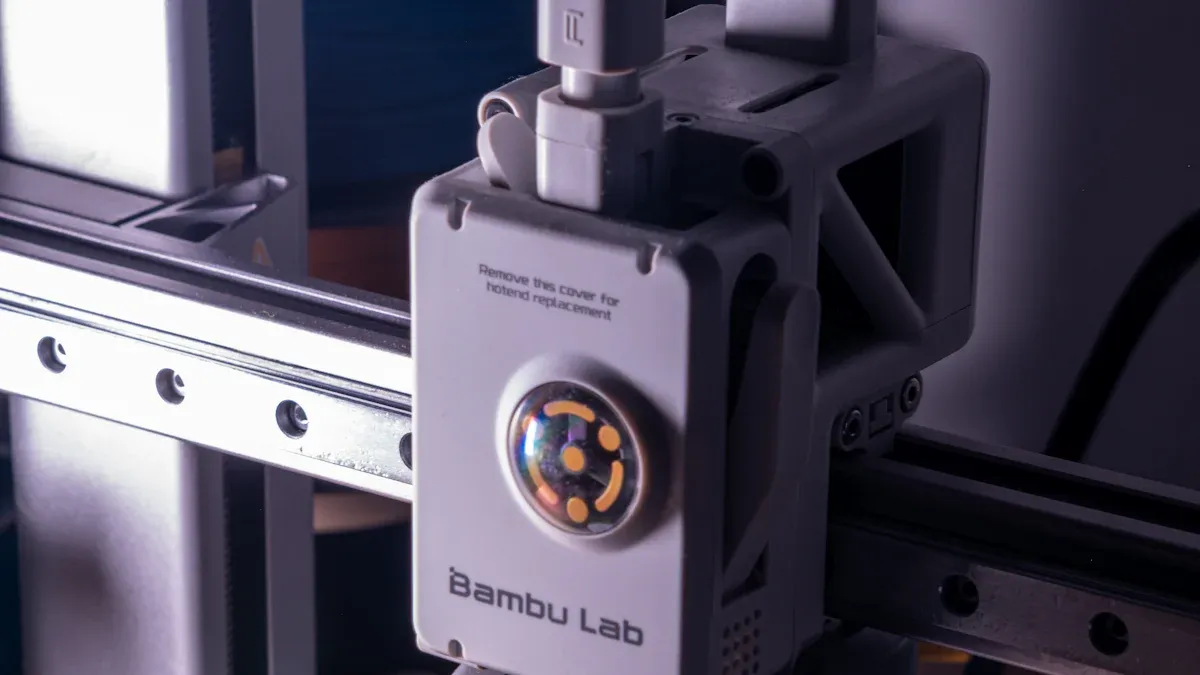
Successful application onto a dtf transfer film hinges on a specific sequence of actions. The process distills down to four essential steps:
Print → Powder → Cure → Press
Executing these stages in the correct order is fundamental for achieving a professional-grade result.
DTF printing has four main steps: Print, Powder, Cure, and Press. Follow these steps in order for good results.
Prepare your digital design carefully. Use high-quality images and make sure the background is clear. Flip the image before printing.
Control the room temperature and humidity. This helps the ink dry correctly and stops the film from curling or getting dusty.
Proper preparation is the foundation of a high-quality DTF print. Gathering the right tools and correctly setting up the digital file prevents common errors and ensures a smooth workflow.
A complete DTF setup includes several specialized components working in unison. Each item plays a critical role in the final output.
| Item | Purpose |
|---|---|
| DTF Printer | A specialized inkjet printer that handles DTF inks and film. |
| DTF Inks | Pigment-based inks in CMYK and White (W) configurations. |
| DTF Adhesive Powder | A hot-melt polyurethane powder that acts as the bonding agent. |
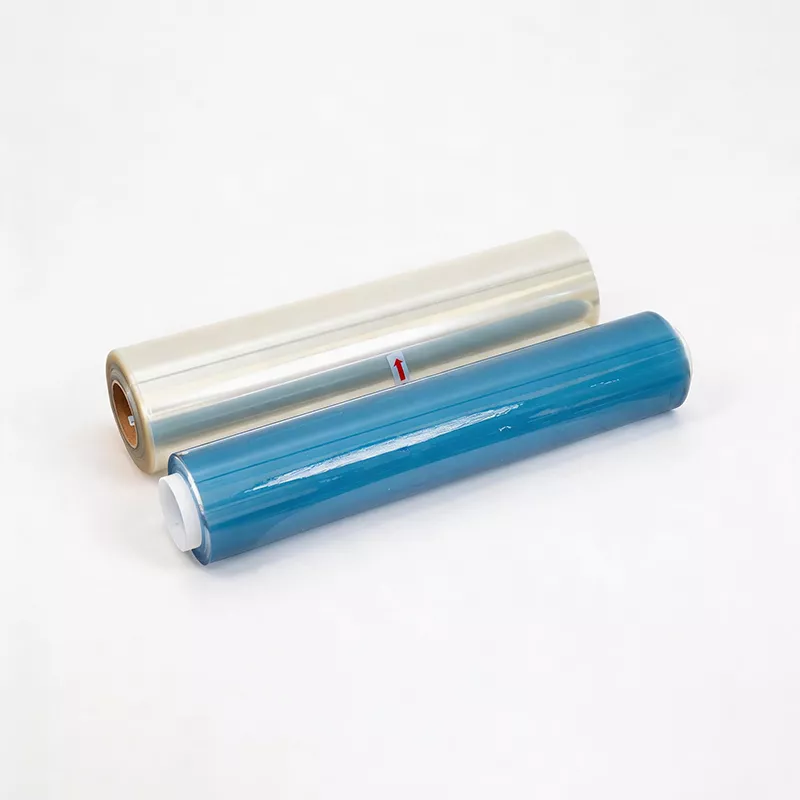
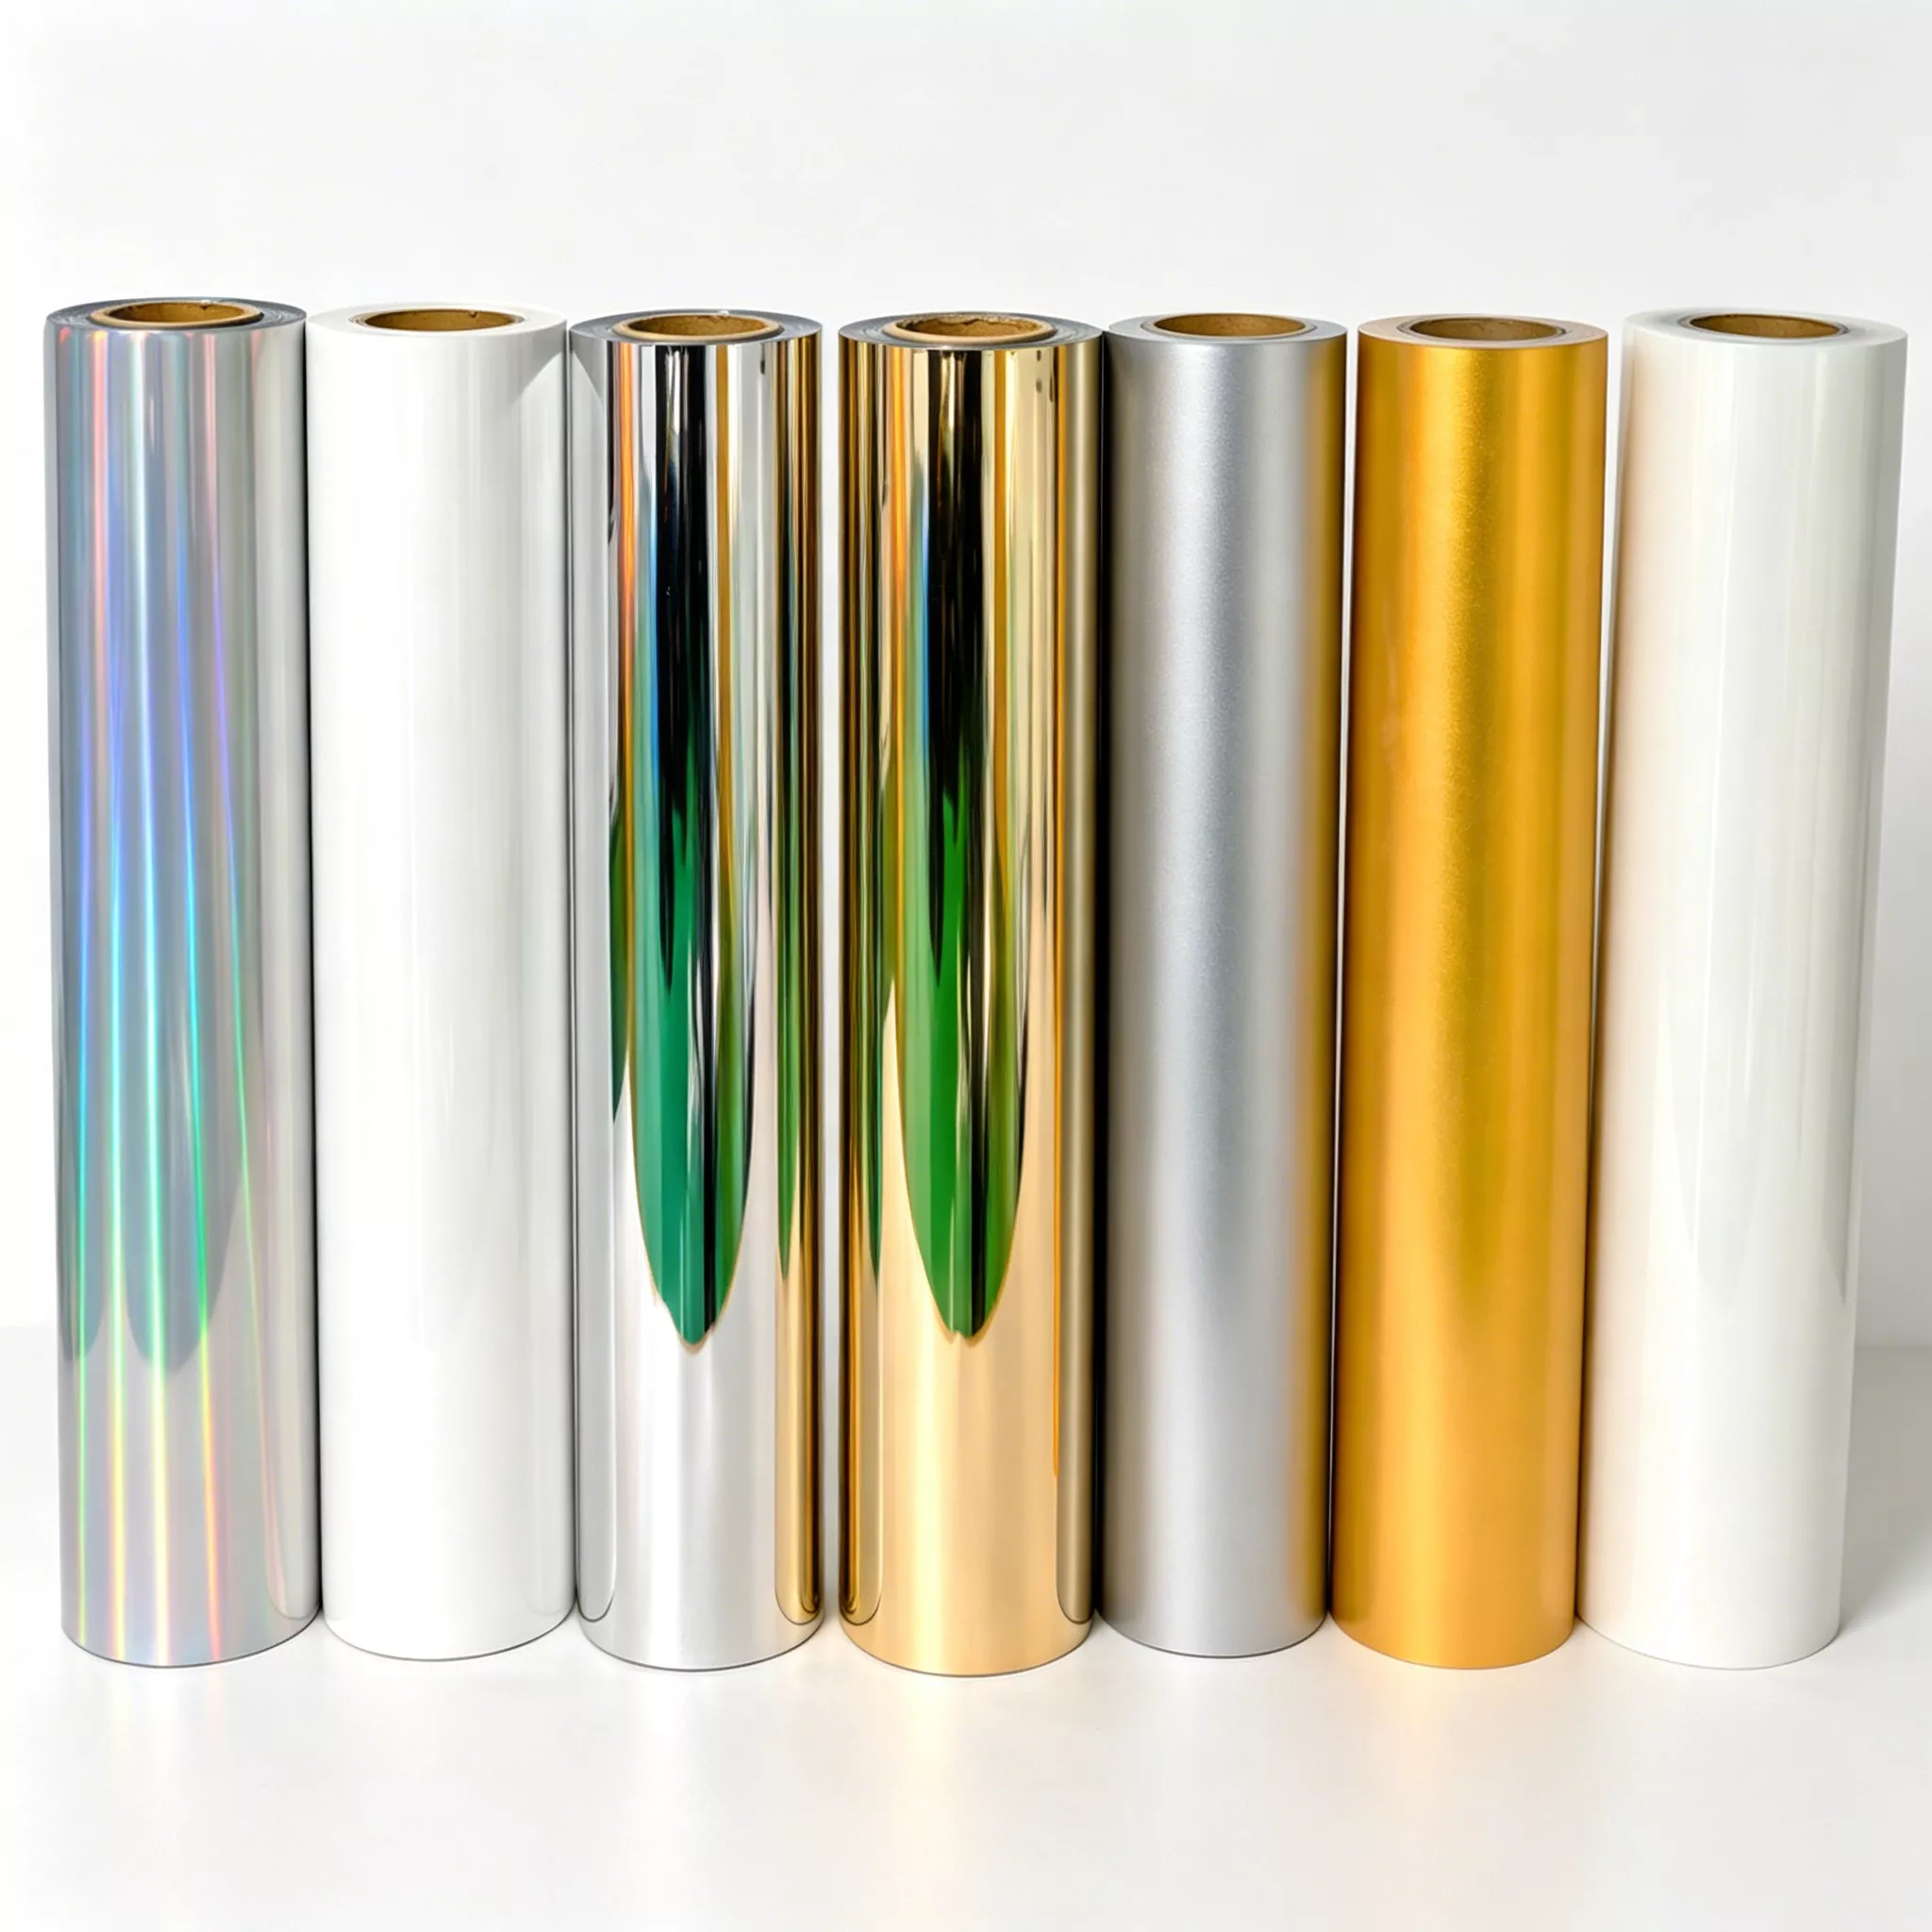
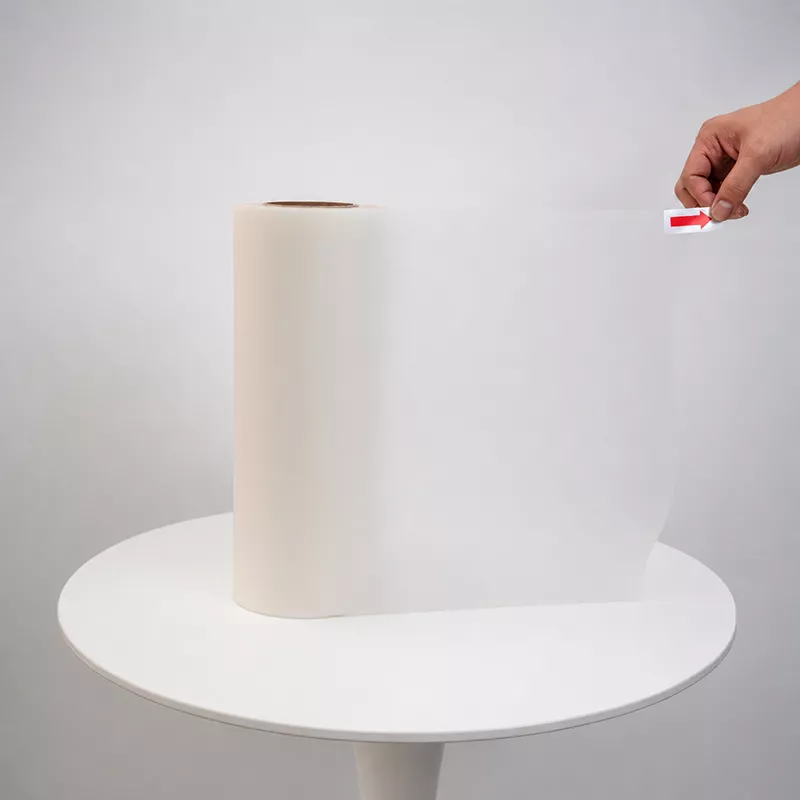
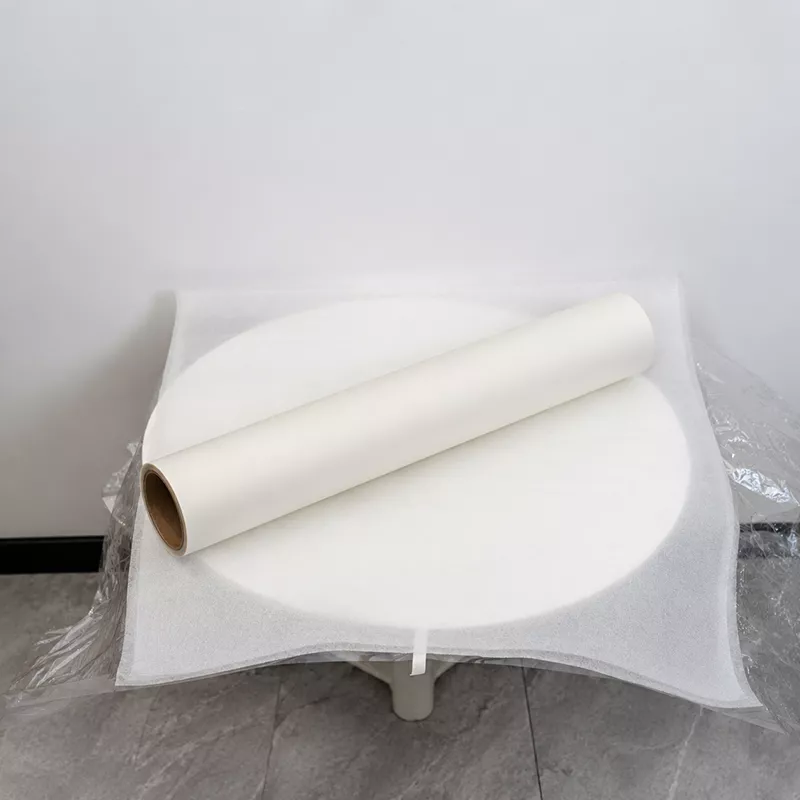
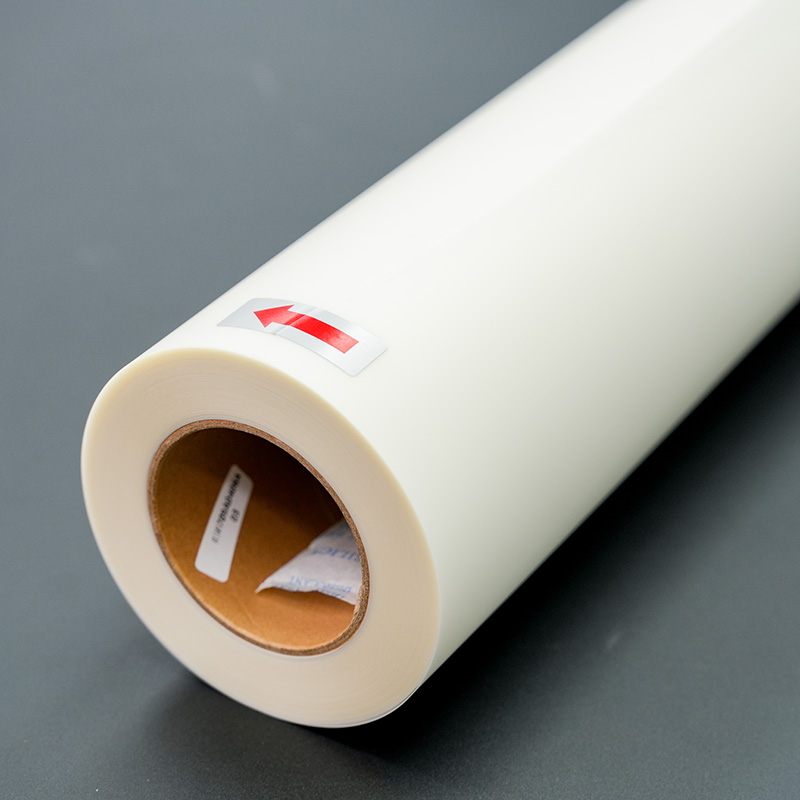
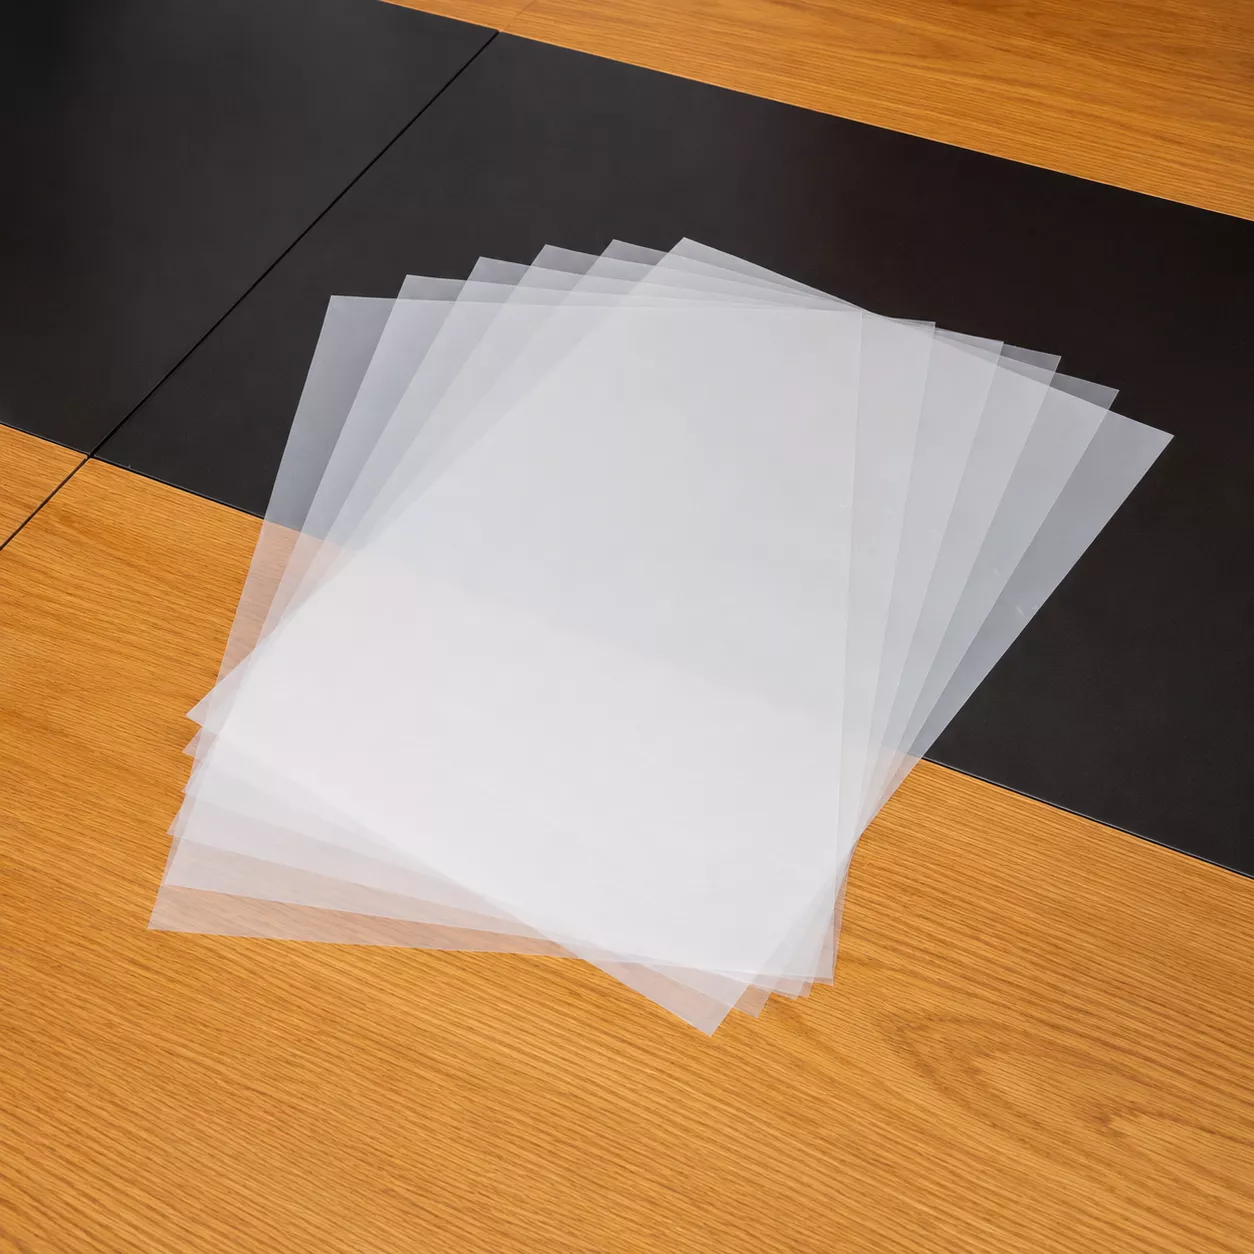
| DTF Transfer Film | The print medium; a PET film with a special coating. |
| Curing Oven/Heat Gun | A device to melt the adhesive powder evenly onto the ink. |
| Heat Press | A machine that transfers the design from the film to the fabric. |
The quality of the digital artwork directly impacts the final print. Designers must follow specific guidelines for optimal results. The artwork should be a high-resolution file, typically 300 DPI, to ensure sharp and clear details. A transparent background is essential, as the printer will only apply ink where the design exists.
Important Note: The design must be mirrored or flipped horizontally in the RIP software before printing. This step ensures the image appears in the correct orientation after being pressed onto the garment.
Most professionals use PNG files because they support transparent backgrounds. Finalizing the design with these specifications prepares it for printing on the dtf transfer film.

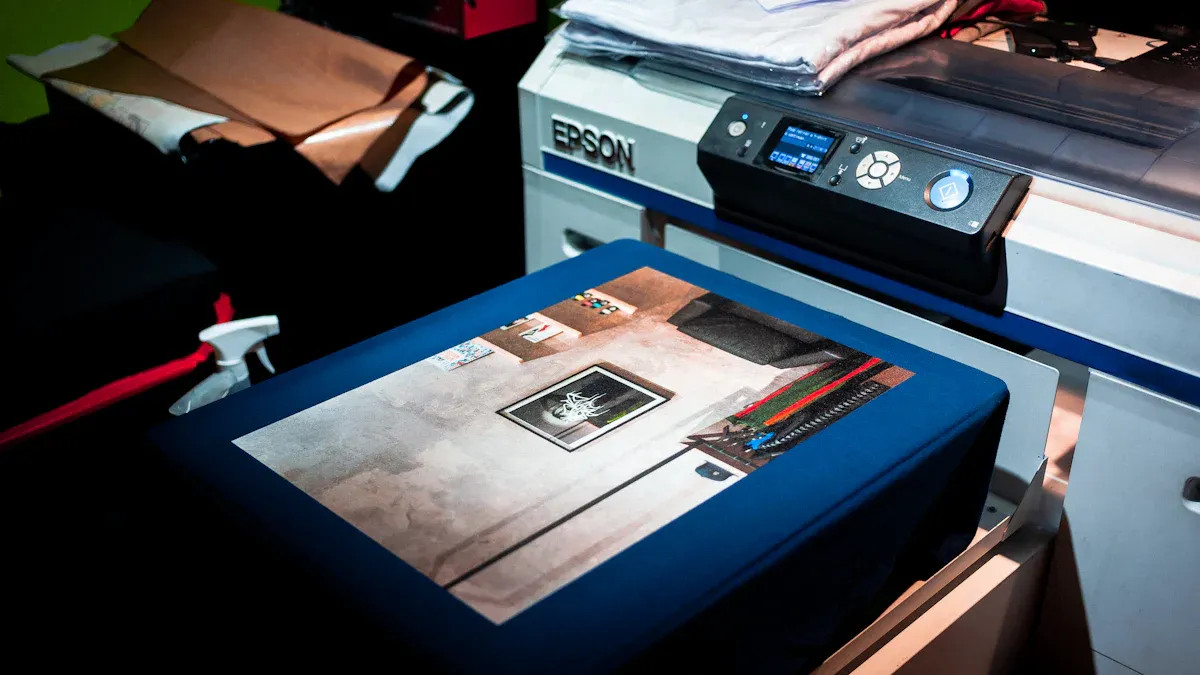
With the design finalized and the toolkit ready, the operator can proceed to the core production phase. This sequence transforms a digital file into a durable, wearable graphic.
The process begins at the DTF printer. The operator loads a sheet or roll of dtf transfer film into the printer, ensuring the printable side is correctly oriented. The printable surface is typically matte, while the non-printable side is glossy.
Pro Tip: Always handle the film by its edges to avoid fingerprints or oils that can interfere with ink adhesion.
The RIP software settings are critical for achieving a vibrant and accurate print. Operators must configure these settings carefully.
White Ink Underbase: Adjusting the choke setting is crucial for managing the white ink layer. This ensures the white ink does not extend beyond the edges of the color layer.
Ink Density: Controlling ink layers and opacity directly impacts color accuracy. Different RIP software programs influence white ink usage, so calibration is essential for optimal results.
Artwork and Software Synergy: Careful artwork preparation works in conjunction with RIP software settings. A well-prepared file requires fewer adjustments in the RIP.
The printing environment also significantly affects the outcome. Humidity and room temperature impact the dtf transfer film and print quality. High humidity can cause the film to absorb moisture, leading to issues like curling and poor ink adhesion. Low humidity can make the film brittle and attract dust due to static. Maintaining a stable environment is essential for consistent, high-quality prints.
| Environmental Factor | Optimal Range |
|---|---|
| Room Temperature | 70-75°F (21-24°C) |
| Relative Humidity | 40-60% |
Immediately after the design prints, the operator must apply the adhesive powder while the ink is still wet. The wet ink acts as a binder, grabbing the powder precisely where the design exists.
The operator holds the printed film over a powder tray and generously sprinkles the white adhesive powder across the entire printed area. They then gently lift and tap the film to shake off any excess powder. The goal is to have a thin, even layer of powder adhering only to the ink. Any stray powder on unprinted areas of the film must be removed to prevent it from transferring to the garment.
Curing melts the adhesive powder, transforming it into a smooth, rubbery layer that will bond the ink to the fabric. This is typically done with a curing oven or a heat gun.
The operator places the powdered film into a curing oven set to approximately 240-265°F (115-130°C) for two to three minutes. The exact time and temperature depend on the specific powder and equipment used. A successful cure is evident when the powdery texture melts into a glossy, slightly bumpy finish resembling an orange peel.
Caution: Avoid overheating the film, as this can cause the ink colors to shift or the film to warp.
Once cured, the transfer is ready to be pressed onto the garment. The operator first pre-presses the fabric for 5-10 seconds. This step removes moisture and wrinkles, creating a flat, ideal surface for application.
Next, they position the cured transfer on the garment with the design facing down. A protective sheet, such as Teflon or parchment paper, is placed over the transfer to protect the heat press platen. The design is then pressed using firm pressure at a temperature between 300-325°F (150-163°C) for 10-15 seconds.
After pressing, the garment and transfer must cool down completely before the final step. This is known as a "cold peel," and it is critical for a clean transfer.
Allow the DTF transfer to cool down completely to room temperature after pressing.
This cooling process typically takes a few minutes.
Waiting for the transfer to be completely cool is crucial, as it allows the adhesive to fully set and bond to the fabric fibers.
Once cool, the operator peels the film away from the garment slowly and at a low, consistent angle. The design should remain perfectly adhered to the fabric, leaving a vibrant and flexible finish.
Even with a careful process, issues like ink bleeding can occur. Understanding the causes helps in finding the right solution.
Improper Ink Drying: Ink that is not fully dry before powder application is prone to smudging.
Excessive Ink Usage: Over-saturating the film with ink can cause it to bleed.
Environmental Factors: High humidity slows the ink's drying time.
Inconsistent White Ink Layer: An uneven white base can cause color shifting and bleeding.
Incorrect Film Handling: Scratching or bending the film can displace wet ink.
Solutions for DTF Ink Bleeding or Smudging:
Use High-Quality Materials: Employ DTF-specific inks and premium PET films with even coatings for consistent ink adhesion.
Optimize Printer Settings: Adjust the ink flow and resolution in the RIP software. A resolution of 1440x720 DPI is often a good starting point.
Control the Environment: Maintain the recommended temperature and humidity levels in the print room.
Ensure Proper Curing: Verify that the powder is fully melted before pressing.
Mastering the DTF process hinges on four core actions: Print, Powder, Cure, and Press. Operators achieve professional-quality results through careful execution and the use of premium materials. Implementing automated prepress solutions further refines the workflow, minimizing errors and ensuring consistent quality on every dtf transfer film.
Direct to Film (DTF) involves printing a design onto a transfer film. The operator then presses the film onto the fabric. Direct to Garment (DTG) prints ink directly onto the fabric.
No, a standard desktop printer cannot be used. DTF printing requires specialized printers configured for pigment-based CMYK and white inks, along with specific RIP software to manage the ink layers.
The cold peel process is critical for a successful transfer. It allows the melted adhesive to cool and completely bond to the fabric fibers, ensuring maximum durability and a clean peel.


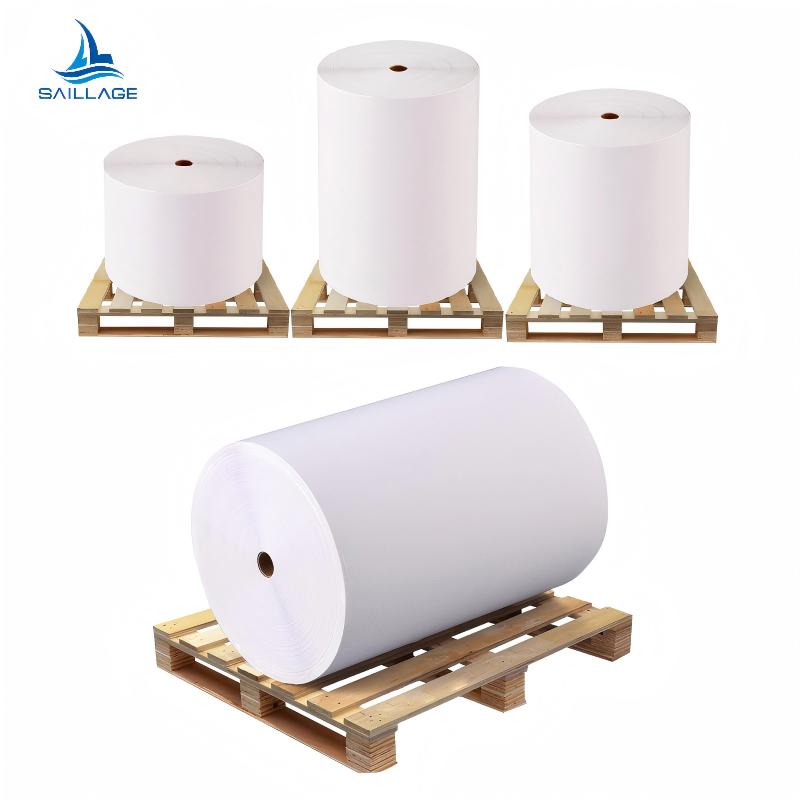
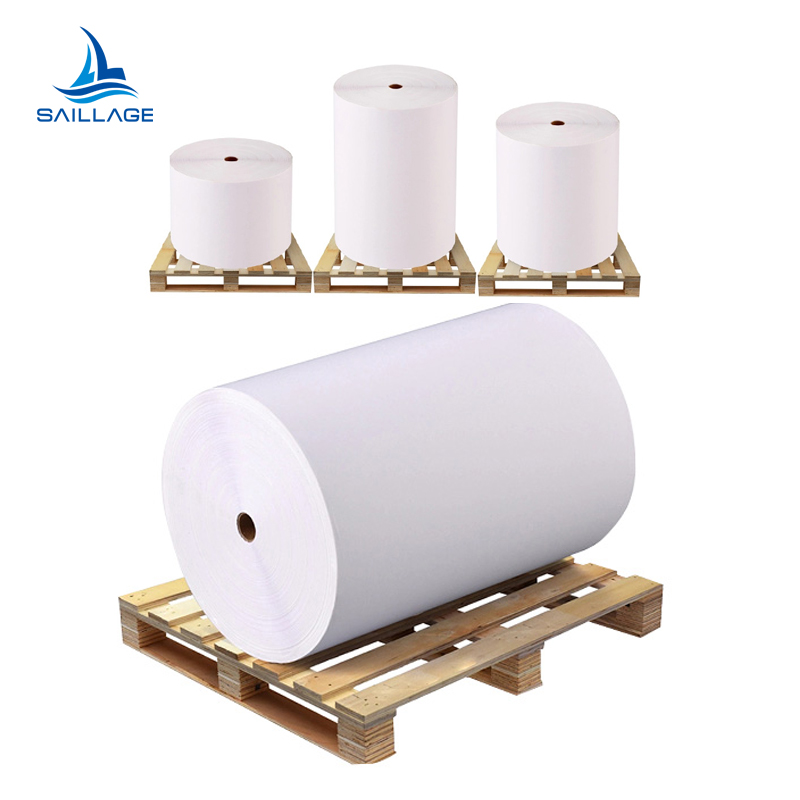
Select the most popular foreign trade service products to meet your diverse needs
Select the most popular foreign trade service products to meet your diverse needs

Tel: +86 17706217416
Add: Building L2A, No. 520, Lane 1588, Zhuguang Road, Hongqiao World Center, Qingpu District, Shanghai, China


User Comments
Service Experience Sharing from Real Customers
Michael Chen
Graphic DesignerThe color vibrancy and transfer precision of this DTF film are outstanding. It's become my go-to for complex designs on dark garments.
Sarah Johnson
Print Shop OwnerExcellent durability after washing. The film is easy to weed and the adhesive works consistently. Has significantly improved our production speed.
David Rodriguez
Production ManagerSuperb product quality. The film's consistency roll after roll ensures reliable results for our bulk orders. Highly recommended for professional use.
Emily Watson
Small Business OwnerAs a startup, this DTF transfer film has been a game-changer. The detail it captures is incredible, and customer feedback on the print softness has been fantastic.