


Could You Recommend Top Leading Reliable One-Stop DTF Transfer Product Suppliers?
The global heat transfer film market has experienc...
More
A failed DTF transfer often points to specific operational errors. Users frequently encounter issues due to several common mistakes.
Incorrect temperature settings are a primary source of failure.
Improper heat press pressure for the garment creates significant problems.
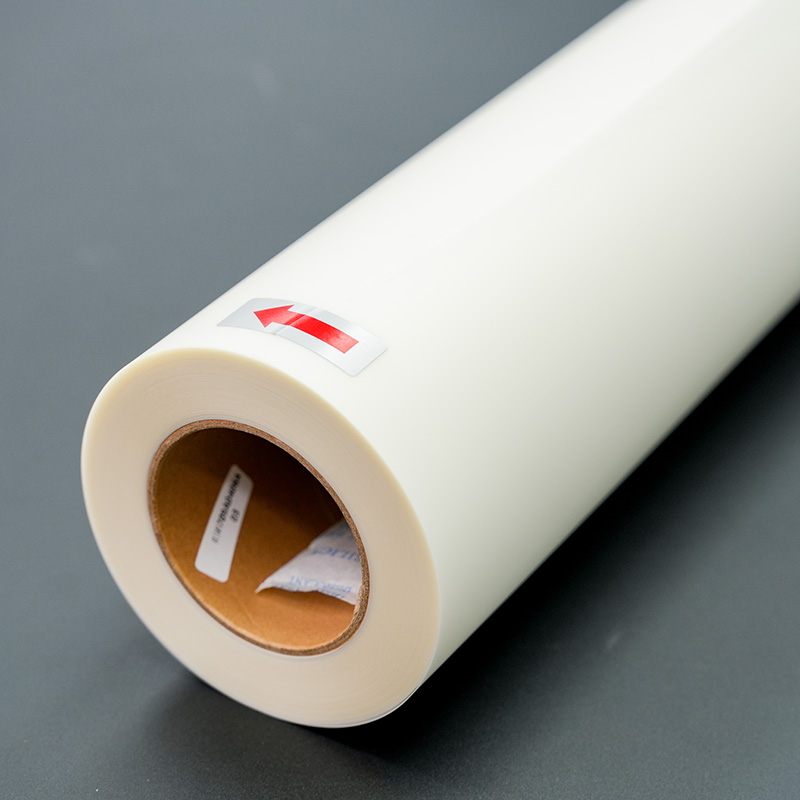
Many issues with cold peel dtf film occur from peeling before the transfer is truly cold.
Sometimes, the quality of the film or adhesive powder is the root cause.
Note: Identifying the exact cause is the first step toward a perfect application.
Master three main settings: temperature, pressure, and time. These settings ensure the transfer sticks well to the fabric.
Always let the transfer cool completely before peeling. Peeling too early makes the film hard to remove and can ruin the design.
Use a second press after peeling. This step makes the design stronger and feel softer on the fabric.
Pre-press garments for 5-10 seconds. This removes moisture and wrinkles, helping the design stick better.
Check your heat press for even heat. Cold spots can stop the design from sticking in certain areas.
Achieving a flawless DTF transfer requires precision. Operators must master three core settings on their heat press: temperature, pressure, and time. These elements work together to ensure the adhesive activates correctly and bonds permanently to the garment. Getting them right is the foundation of professional-quality results.
The correct temperature is non-negotiable for proper ink and powder adhesion. Incorrect heat levels, whether too high or too low, are a primary cause of print failure. Over-curing can cause colors to fade, while under-curing prevents the design from fully bonding to the fabric. Operators should always start with the manufacturer's recommendations.
Pro Tip: Environmental factors like high humidity can affect powder adhesion. A controlled environment helps produce consistent results.
A good starting point for common fabrics is detailed below:
| Fabric Type | Temperature Range (°F) | Temperature Range (°C) |
|---|---|---|
| 100% Cotton | 310–320 | 154–160 |
| 100% Polyester | 280–290 | 138–143 |
| Blended Fabrics | 300–310 | 149–154 |
Heat press pressure ensures the melted adhesive makes complete contact with the fabric fibers. Too much pressure can cause the adhesive to spread too thin, leading to a difficult peel. Too little pressure results in an incomplete bond and lifting edges. For those without a digital pressure gauge, a simple paper test can determine the setting.
Place two or three sheets of standard paper on the lower platen, leaving half hanging out.
Close the press.
Attempt to pull the paper out. If it does not move, the press has firm, medium pressure. If it pulls out with some resistance, the pressure is light.
Press time is the final piece of the puzzle. The duration must be long enough to melt the adhesive fully but short enough to avoid damaging the fabric. An incorrect press time is a common mistake.
Too short: The transfer will not adhere properly.
Too long: This can cause scorching, color distortion, or a cracked finish.
A typical press time for standard cold peel DTF is 10–15 seconds. However, this can vary. For example, leather may require up to 20 seconds, while delicate stretch fabrics do best with around 12 seconds. Always perform a test print on scrap material to confirm the ideal settings.

Operators sometimes find that the transfer film resists removal or, in worst-case scenarios, tears during the peeling process. This frustrating issue can ruin both the transfer and the garment. The causes are almost always related to the cooling process, press settings, or the quality of the materials used.
The most common reason for a difficult peel is impatience. The term "cold peel" is literal. The adhesive and ink must cool completely to solidify and fully bond with the fabric fibers. When an operator attempts to peel the film while it is still warm, the adhesive is in a semi-molten state. This causes it to cling to both the garment and the film, creating significant resistance. This resistance is what makes the film hard to remove and can cause it to stretch or tear.
Quick Tip: A simple test can confirm if the transfer is cool. Place the back of your hand on the transfer. If it feels even slightly warm, it is not ready. The transfer should feel the same temperature as an unpressed area of the garment.
While pressure is essential, too much of it can be destructive. Excessive pressure does more harm than good, creating a transfer that is brittle and difficult to manage. This happens for a few key reasons:
It squashes the ink layer, making it thin and fragile.
It can cause the adhesive powder to burn or spread too thin.
The combination of flattened ink and compromised adhesive results in brittle cracks, making the film highly susceptible to tearing during the peel.
An operator should aim for firm, even pressure, not maximum force. The goal is to embed the adhesive into the fabric, not to flatten the design into a fragile sheet.
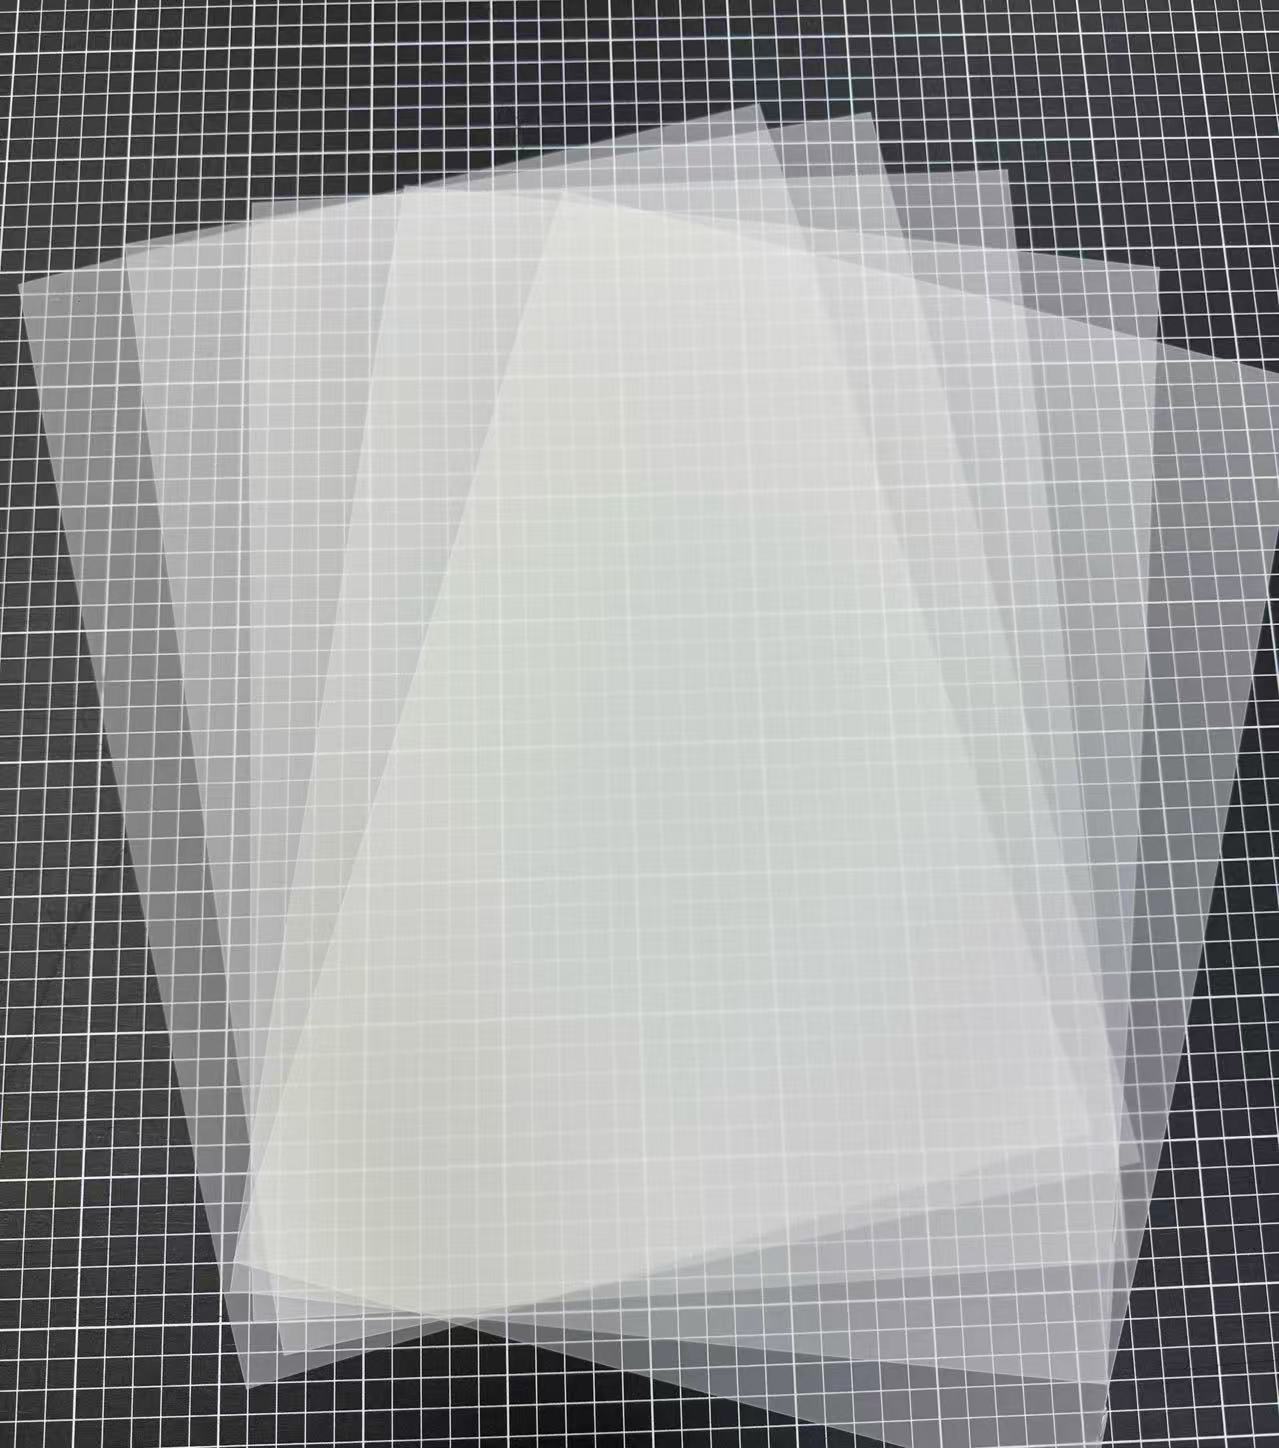
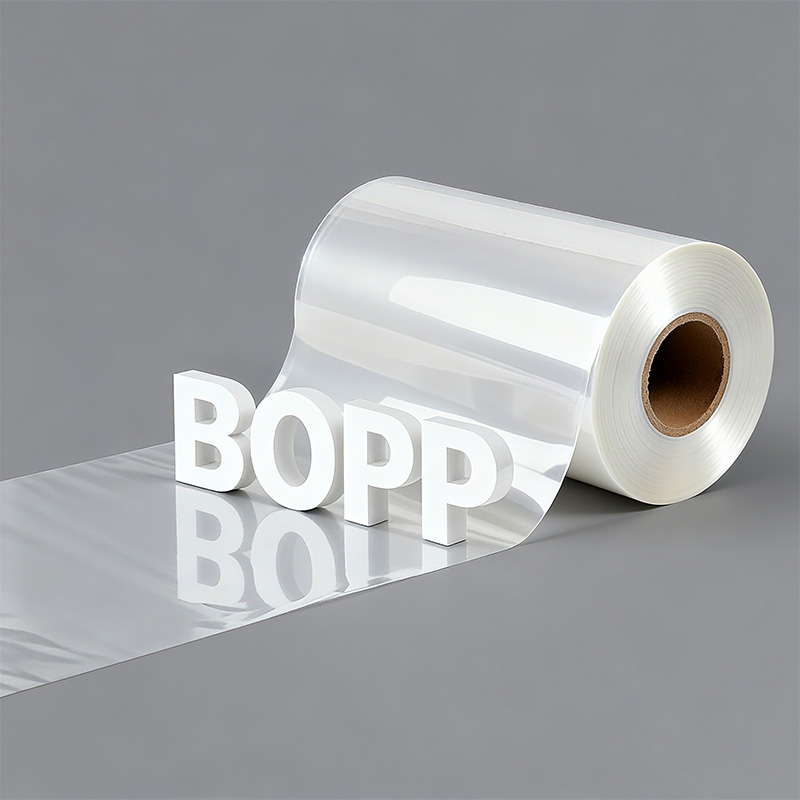
Not all materials are created equal. An outdated or low-grade cold peel dtf film can be the source of many problems, including difficult peeling. Inferior films often lack the stability and consistent release coating of premium products. Operators using generic or off-brand films may notice several warning signs.
Signs of a poor-quality film include:
Film Curling or Warping: The film may curl at the edges during the curing or pressing stage. This is often due to a thin or low-grade PET base that cannot withstand the heat.
Weak Adhesion: The design lifts at the edges or peels off entirely after the first wash. This indicates a failure in the film's release properties or the adhesive itself.
Image Distortion: The film may stretch or misalign under heat and pressure, causing the final image to appear distorted.
If an operator has perfected their settings and cool-down process but still faces tearing, the film itself is the likely culprit. Investing in a quality film from a reputable supplier is critical for consistent, professional results.

A common and frustrating outcome is a design that fails to adhere to the garment. When an operator peels back the film, parts of the transfer—or the entire design—remain on the film instead of bonding to the fabric. This failure almost always points to an issue with heat, pressure, or garment preparation.
Heat is the catalyst that melts the DTF adhesive powder, allowing it to fuse with the fabric fibers. Incomplete design transfers often happen because the heat press does not reach the correct temperature. If the adhesive is under-cured, it may never fully melt. This results in a patchy or weak bond that cannot withstand the peeling process.
Operators should look for several visual indicators that suggest insufficient heat was applied. These signs are clear warnings that the press settings need adjustment.
Incomplete Bonding: The design lifts away with the film.
Powder Flaking: Loose adhesive powder is visible on the garment or film.
Sticky Feel: The cured film feels tacky or wet to the touch.
Visible Bubbling: The transfer blisters or bubbles during the press.
Film Curling: The edges of the film curl up before or during application.
Pro Tip: A heat press's digital display is not always accurate. An operator should periodically verify the platen's temperature to ensure it matches the readout.
Two reliable methods exist for verifying heat press accuracy.
Using a Heat Gun:
Set the heat press to the desired temperature and allow it to heat up completely.
Use an infrared heat gun to scan multiple areas of the top platen.
Note any significant temperature differences or cold spots that could cause uneven adhesion.
Using Temperature Strips:
Place a temperature strip on a sheet of paper or a scrap piece of fabric.
Press the item as if it were a normal production run.
Examine the strip after pressing. This method confirms the true temperature achieved under operational pressure, making it a highly accurate diagnostic tool.
Proper pressure forces the molten adhesive deep into the weave of the fabric, creating a strong mechanical bond. When the pressure is too low, the adhesive only sits on the surface. This weak connection allows the design to lift easily during the peel. Uneven pressure, often caused by a warped platen or a thick seam, creates areas where the design sticks perfectly next to areas where it fails completely.
Operators can take several steps to troubleshoot and achieve consistent pressure.
Check the Heating Platen: An operator should regularly inspect the heating surface. It must be perfectly flat and free from any bumps or warping. A damaged platen requires repair or replacement.
Adjust Pressure Settings: The correct pressure depends on the material. Thicker garments like hoodies generally require more pressure, while thinner t-shirts need less.
Ensure Material Consistency: The garment itself must lay flat. Zippers, thick seams, and collars prevent the platen from making even contact across the entire transfer area.
A heat press pillow or a folded towel placed inside the garment helps create a raised, even surface. This technique ensures uniform pressure, especially when working with items like polo shirts or zippered hoodies.
The garment itself plays a critical role in transfer success. Two factors are paramount: removing moisture through pre-pressing and adjusting settings for specific fabric types. Many adhesion failures occur because an operator skips a crucial preparation step.
Pre-pressing is essential. This simple 5-second step removes hidden moisture and wrinkles from the garment. A damp or wrinkled surface is a primary cause of poor bonding, as steam gets trapped under the transfer and prevents the adhesive from making direct contact with the fabric fibers.
Failing to pre-press can lead to a host of issues, including immediate adhesion failure or peeling after the first wash. Pre-pressing activates the fabric fibers, creating a smooth, dry canvas for a permanent bond.
Furthermore, not all fabrics are the same. A polyester or nylon garment requires a different approach than a 100% cotton shirt. For example, synthetic fabrics like nylon are often treated with coatings that repel moisture and, by extension, DTF adhesive.
Tips for Difficult Fabrics (e.g., Nylon, Spandex):
Clean the Surface: An operator can wipe the application area on coated nylon with isopropyl alcohol. This removes oils or residues that interfere with adhesion.
Use a Protective Sheet: A silicone or parchment paper sheet is preferable to a Teflon sheet. It protects the heat-sensitive fabric from scorching and prevents residue buildup.
Press and Cool: Press the transfer for 10–15 seconds at a lower temperature (around 280°F or 138°C). Then, the operator must allow the transfer to cool completely before peeling to ensure the adhesive sets properly on the slick surface.
The journey to a perfect DTF transfer begins long before the garment meets the heat press. A critical, often overlooked, step is the curing of the adhesive powder. This process melts the loose powder applied to the wet ink, transforming it into a single, solid sheet of adhesive. When this stage is incomplete, the adhesive layer lacks the integrity to bond with the fabric, guaranteeing a failed transfer.
An operator must learn to recognize the visual difference between a properly cured transfer and an under-cured one. Visual inspection is the best quality control measure at this stage.
Properly Cured DTF Adhesive Powder:
It appears as a smooth, slightly glossy, and opaque white layer.
No individual specks of powder are visible to the naked eye.
The surface exhibits an 'orange-peel texture,' a key indicator of the successful transformation from loose powder to a uniform adhesive film.
Under-Cured DTF Adhesive Powder:
The surface still looks grainy or has noticeable unmelted spots.
This state leads directly to incomplete transfer adhesion and extremely poor washability.
Expert Tip: The goal of curing is to melt the powder without over-baking the ink underneath. Achieving the correct "orange-peel" look is a sign that the adhesive is ready for pressing.
The curing process requires precise control over temperature and time. While methods vary, using a dedicated curing oven provides the most consistent results. For optimal curing of DTF powder in a convection oven, operators should preheat the unit and monitor the transfer closely. The powder will transform, turning clear and glossy as it melts.
A reliable starting point for oven curing is as follows:
| Setting | Value |
|---|---|
| Temperature | 110–120°C (230–250°F) |
| Time | 2 to 3 minutes |
Ultimately, an under-cured transfer has a weak adhesive layer that cannot create a permanent bond. When the operator peels the film, the design will lift because the glue was never properly prepared to stick in the first place.
An operator may notice that after peeling the film, the design's edges are not sharp or small details are missing entirely. This issue often points to problems in the final stages of the application process, such as peeling technique, equipment integrity, or garment preparation. Correcting these factors is essential for a clean, complete transfer.
The final peel is a delicate step that demands patience and proper technique. A rushed or incorrect peeling motion can pull the freshly bonded design right off the fabric. The adhesive needs a slow, steady release to remain fully attached to the garment's fibers. An operator should follow a methodical process for the best results.
Cool Completely: The operator must first allow the transfer to cool to room temperature. A warm transfer has not fully set.
Start at a Corner: They should gently lift one corner of the film to begin the peel.
Peel Low and Slow: The operator needs to pull the film back at a low angle, keeping it close to the garment. This "low and slow" technique minimizes stress on the design and prevents lifting.
A faulty heat press is a frequent source of transfer failures. If an operator notices that defects consistently appear in the same spot on different garments, the issue is likely an uneven heat press platen. These "cold spots" do not receive adequate temperature, preventing the adhesive in that area from melting and bonding correctly.
An operator can use an infrared thermometer gun to diagnose this problem. By scanning the heated platen's surface, they can pinpoint significant temperature variations and confirm the presence of cold spots that are causing parts of the design to fail.
Moisture is the invisible enemy of a perfect DTF transfer. All fabrics hold a certain amount of ambient moisture, which turns into steam under the heat and pressure of the press. This steam creates a barrier, preventing the adhesive from making direct contact with the fabric fibers. The result is a weak bond that easily lifts at the edges.
Crucial Step: An operator must always pre-press the garment for 5–10 seconds. This simple action removes hidden moisture and wrinkles, creating a perfectly dry and smooth surface for permanent adhesion.
The success of a cold peel transfer hinges on one critical, often rushed, step: the cool-down period. This phase is not just a waiting game; it is an essential part of the chemical bonding process. An operator who masters the art of cooling will produce consistently durable and vibrant designs.
The term "cold peel" is literal and rooted in the chemistry of the materials. The release layer on a cold peel dtf film is engineered to maintain a strong grip on the transfer until it has cooled completely. While the transfer is hot, the adhesive is in a tacky, semi-liquid state. As it cools, the adhesive solidifies and forms a permanent, mechanical bond with the fabric's fibers.
The bond to the garment only becomes stronger than the film's grip once the transfer is truly cold. Peeling too soon interrupts this process, causing the design to lift because the adhesive has not fully set.
A properly cooled transfer ensures:
Sharper Details: The design's edges remain crisp and clean.
Stronger Adhesion: The ink fully penetrates the fabric, reducing the risk of future cracking or peeling.
Stress-Free Peeling: The film releases smoothly without resistance or tearing.
Achieving a uniform cool-down is simple but requires a methodical approach. An operator should remove the garment from the heat press and place it on a flat, clean, and heat-resistant surface. The key is to let the transfer cool naturally in a controlled environment.
Operators must avoid common mistakes that lead to inconsistent cooling.
Do not wave or flap the garment in the air. This can cause uneven cooling and may stress the fresh transfer.
Keep the garment away from fans or air conditioning vents, as drafts can create cold spots.
Ensure the entire transfer cools at the same rate.
For high-volume production, operators can accelerate the cooling process using specific tools. A marble or granite slab is an excellent choice because its high thermal mass rapidly draws heat away from the garment. Placing the shirt flat on the stone can reduce the cool-down time significantly.
Another effective tool is a metal cooling rack, similar to those used in baking. Placing the garment on a rack allows air to circulate freely on both sides, promoting a faster and more even cool-down. These methods help standardize the process for every cold peel dtf film application, leading to more predictable and professional results.
An operator's work does not end after a successful peel. The final steps in the DTF process are crucial for ensuring the design's longevity and professional finish. These post-peel practices transform a good transfer into a great one that withstands wear and washing.
A second press is a non-negotiable step for achieving professional-grade durability. This brief post-press completes the annealing process, where the adhesive's polymer chains organize into a stronger structure. This action significantly enhances the print's flexibility and wash resistance. It also improves the hand-feel by compressing the ink and adhesive, reducing any surface graininess for a softer finish.
Pro Tip: Always cover the design with parchment paper or a Teflon sheet for the second press. This protects the ink and prevents it from sticking to the platen.
An operator should use the following settings for an effective second press:
Temperature: Use the same temperature as the initial press (e.g., 320°F or 160°C for cotton).
Pressure: Maintain a medium, firm pressure.
Time: A quick press of 5–10 seconds is all that is needed to lock in the design. For polyester, a shorter time of 3-5 seconds is sufficient.
Proper garment care is essential for extending the life of a DTF print. High-quality transfers are tested against established industry protocols, such as AATCC LP1 (Machine Washing) and LP2 (Hand Washing), to ensure they meet durability standards. An operator should provide customers with clear care instructions to maintain the print's integrity.
Recommended Long-Term Care:
Washing: Turn the garment inside-out. An operator should advise using cold water and a mild liquid detergent. Avoid bleach and fabric softeners.
Drying: Air drying by laying the garment flat is the best method. If a machine is necessary, use a low-heat or tumble-dry setting.
Ironing: Always iron the garment inside-out on a low temperature setting. Never place a hot iron directly on the DTF design.
Mastering a cold peel dtf film application requires precision. An operator's success rests on the three pillars: Temperature, Pressure, and Time. They must allow the transfer to cool completely before any peeling attempt. A quick second press is non-negotiable for professional durability and a soft hand-feel. Operators should keep a detailed log of their settings for different garments. This practice ensures consistent, high-quality results for every project.
Yellowing of the white ink layer typically indicates excessive heat. An operator should lower the curing oven or heat press temperature. This issue is common with polyester fabrics, which are more sensitive to high heat and can cause dye migration into the transfer.
A home iron is not recommended for professional DTF application. Irons provide uneven heat and inconsistent pressure, leading to poor adhesion and failed transfers. A quality heat press is essential for achieving a durable, commercial-grade bond that withstands washing and wear.
The "orange peel" texture is a key visual cue. It indicates the adhesive powder has melted completely into a uniform, slightly bumpy sheet. An operator should look for this texture before pressing. It confirms the adhesive is properly cured and ready to bond with the fabric.
An operator should not peel the film if a transfer only partially sticks. Instead, they can cover the transfer with a Teflon or parchment sheet and press it again for 5-10 seconds. This extra heat and pressure can often fix adhesion issues in failed spots.


Select the most popular foreign trade service products to meet your diverse needs
Select the most popular foreign trade service products to meet your diverse needs

Tel: +86 17706217416
Add: Building L2A, No. 520, Lane 1588, Zhuguang Road, Hongqiao World Center, Qingpu District, Shanghai, China


User Comments
Service Experience Sharing from Real Customers
James Wilson
Print Shop OwnerThis cold peel DTF film is a game-changer for our high-volume apparel business. The transfer process is incredibly smooth, and the final print is vibrant and durable. It has significantly reduced our production time and waste.
Sarah Chen
Graphic DesignerAs a designer, color accuracy and detail are everything. This film delivers excellent results, especially on dark fabrics. The cold peel feature makes handling so much easier and cleaner compared to traditional methods.
Michael Rodriguez
Production ManagerWe've tested many DTF films, and this one stands out for its consistent quality and reliable cold peel performance. It adheres perfectly to various materials, from cotton to polyester blends, with minimal cracking. Highly recommended for professional use.
Emily Foster
Small Business OwnerStarting my own custom mug and tote bag business was daunting, but this film made the printing process straightforward. The cold peel is gentle, and the transfers are flexible and soft to the touch. My customers love the professional quality!